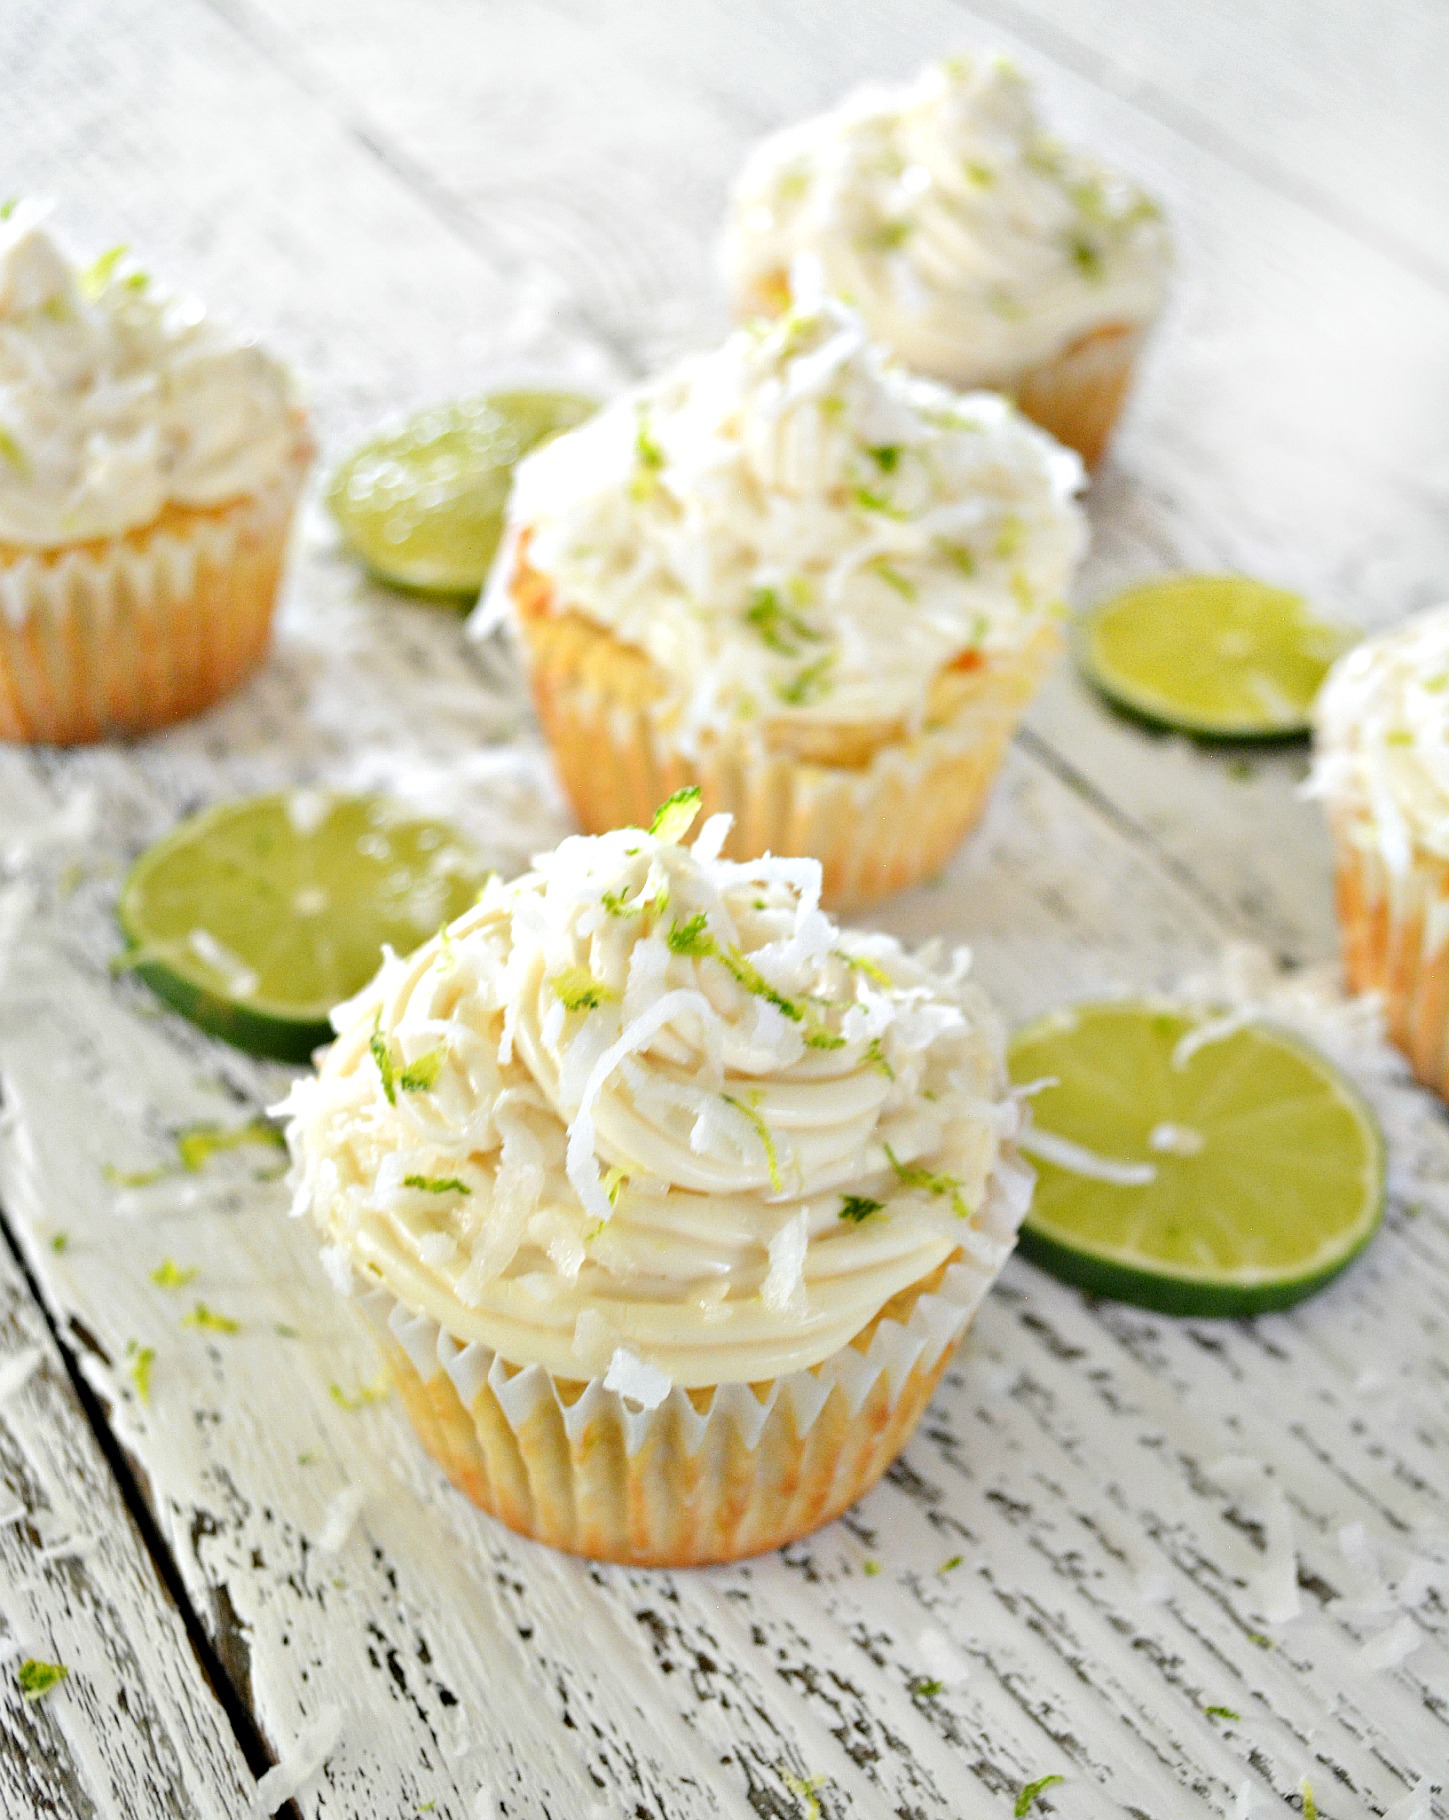
Coconut Lime Cupcakes with Cream Cheese Frosting
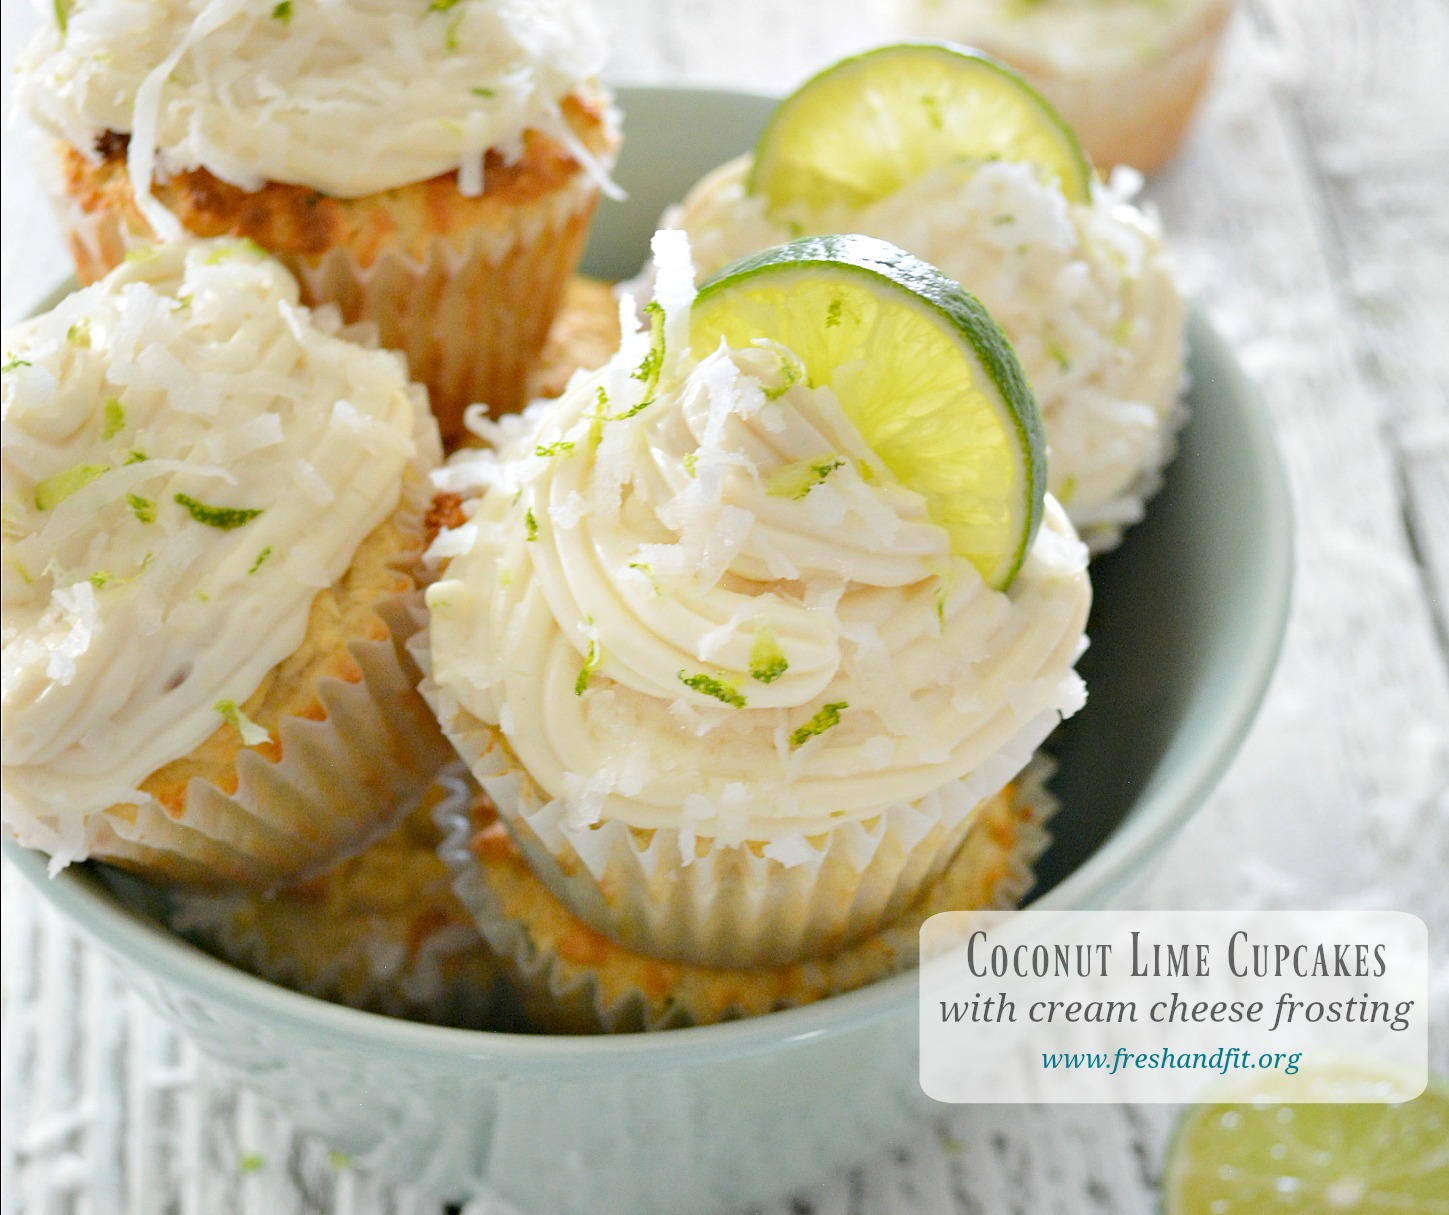
I wanted to make a dessert recipe that screamed “Summer!” without a ton of sugar and processed ingredients. I love all things coconut and lime pairs very well, adding a juicy burst of flavor.
Instead of traditional flour, I used a combination of coconut and tapioca flours. Coconut flour is great for baking gluten free dishes with a nice coconut aroma and tapioca starch keeps the cupcake batter light while remaining allergy-friendly. I really enjoy desserts with a cream cheese based icing. It helps cut through the richness of a dessert and doesn’t add heaps of unnecessary sugar. Instead of buying store bought cupcakes, try this crowd pleasing cupcake recipe full of summertime goodness.
Coconut Lime Cupcakes with Cream Cheese Frosting

Ingredients
- 1 cup coconut flour
- 1 cup tapioca starch
- 1 tbsp baking powder
- 2 eggs
- 1/3 c coconut oil, melted
- 1.5 cups unsweetened almond milk
- 1/2 cup coconut sugar
- 1 cup unsweetened shredded Coconut
- 1/3 cup lime juice
- 2 tbsp lime zest
- FOR FROSTING
- 8 oz cream cheese
- 1 tsp vanilla extract
- 2 tbsp raw honey (the thick kind)
- 1 tbsp milk
Instructions
- Preheat oven to 350 and line a muffin tin with paper liners. Cream together coconut sugar and eggs using a hand mixer. Add melted coconut oil and almond milk, beat once more until combined.
- Gradually mix in coconut flour, tapioca starch and baking powder. Add lime juice, lime zest and coconut. Stir. Use a 1/4 cup measuring scoop to add cupcake batter to muffin tin. Bake 30 minutes.
- In the meantime, beat cream cheese, vanilla extract, and raw honey. Add milk and beat once more. Pour frosting into a piping bag. Refrigerate.
- Allow cupcakes to cool 20 minutes. Frost and refrigerate until serving.